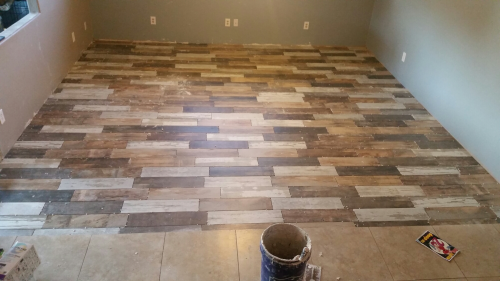
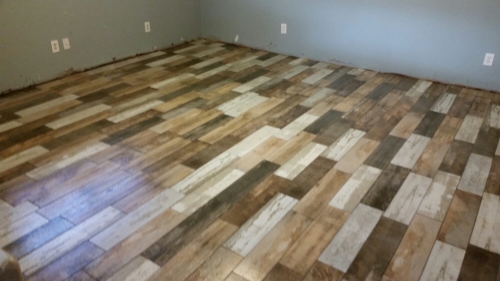
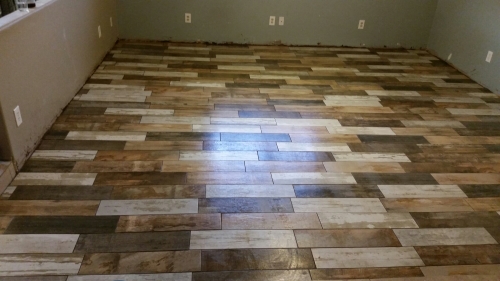
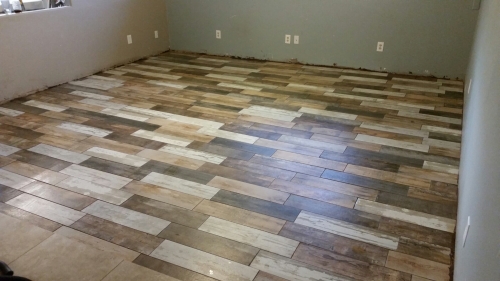
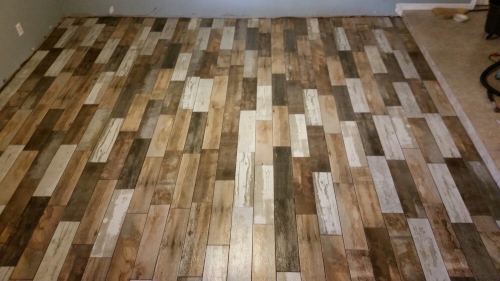
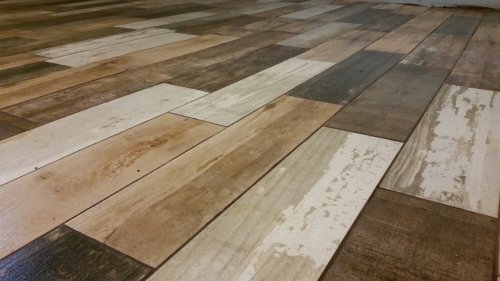
My friend Chris came over to show me how to lay tile. After much deliberation the wife and I decided on a brick pattern with a random offset. We liked the layout of the double herringbone. But the pattern plus the color variation…well, as the wife said, “It looks like a Calico cat exploded in here.”
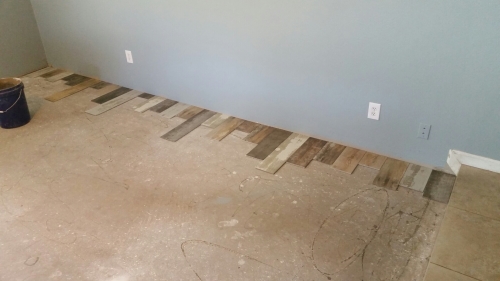
To start off we took a handful of tiles and cut them at completely random intervals. Then we set them against the wall.
I really lucked out. 28 tiles fit perfectly from edge to edge.
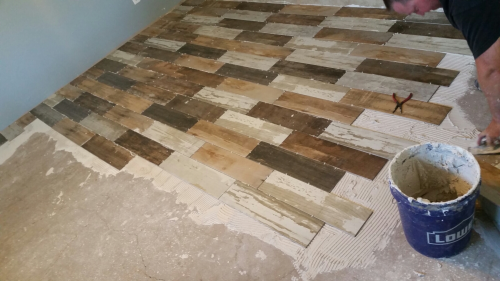
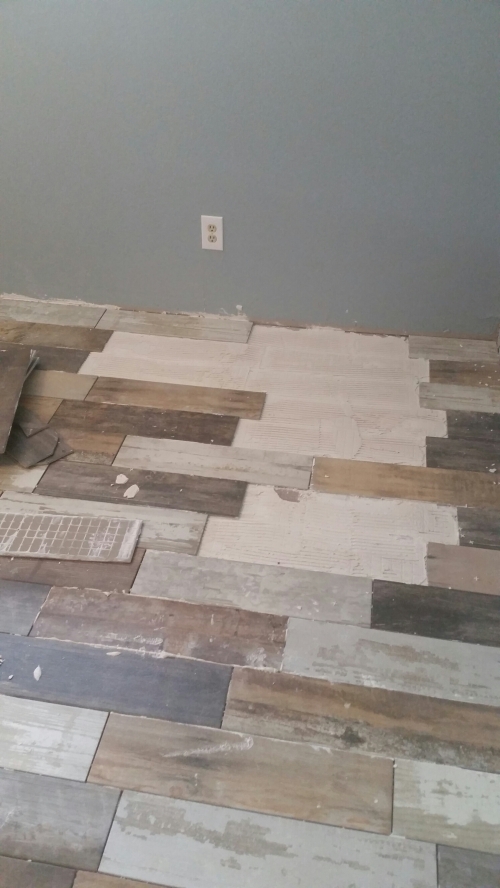
Then we went out 3 to 4 tiles, and then down. Out and down. Out and down.
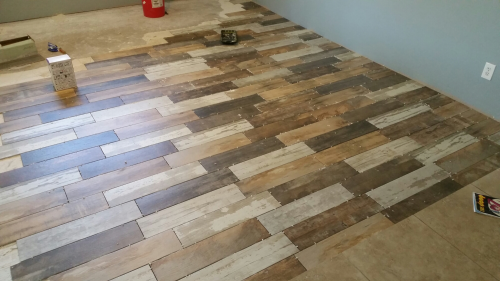
My biggest goal was making sure that I didn’t have two identical tiles next to each other. While there are several similar tiles, I just didn’t want the same ones adjoining. As it came along it was looking pretty good.
At one point, order to be more efficient, I worked from the back corner up, while Chris worked from the front corner back. Unfortunately, in my haste and inexperience, my lines weren’t perfectly square. What is predictable is preventable. And the preventable happened. The last space left wasn’t big enough for the piece.
At this point I was 9 hours in, ex6hsusted, and frustrated. We ended up cutting a diagonal line from 1/2″ to just under 1″ down the tile.
If you know it’s there you see it. Of you don’t, I’d be surprised if you could pick it out. Plus, our couch will be over it. But in the future, I’ll be working from one corner to the other.
At the end of the night, I was feeling pretty good.
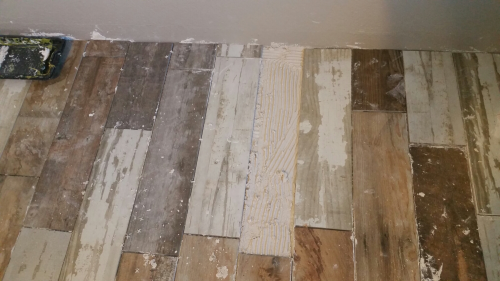
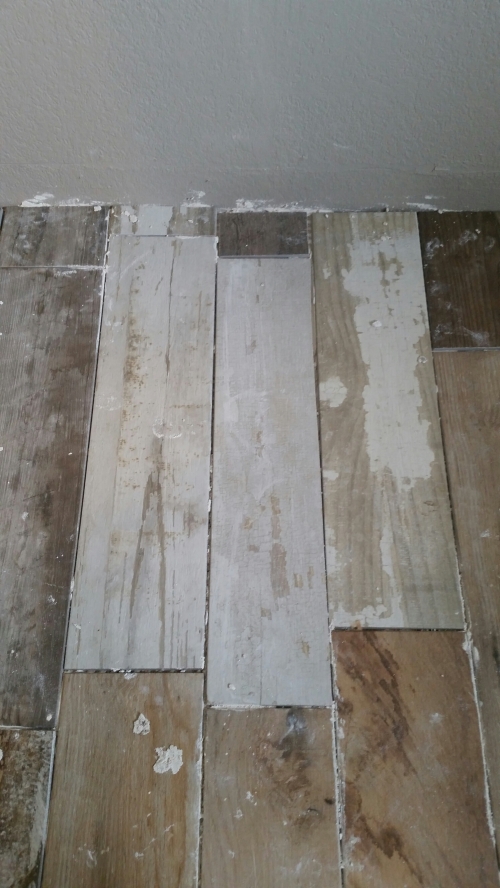
The following morning we returned to clean the lines and set the grout. As I walked across the floor I felt a tile move under my foot. Uh oh. I tapped it with a screwdriver handle and it was definitely loose. I pulled it up with ease and began scraping up the hardened thinset. That sucked. I started running the handle of the screwdriver over the tiles and unfortunately we found 4 singles and a group of 7 tiles together.
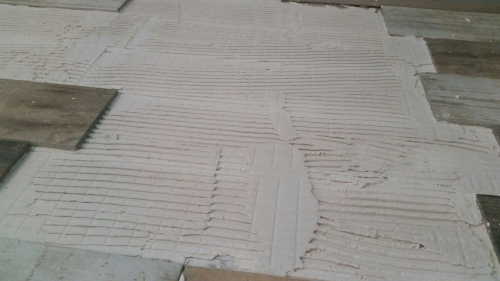
Now, I’m no scientician, but I looked at the thin set underneath. You can clearly see that the thin set only bonded to one tile in one place. My theory is that it was too dry. It was moist enough to spread and to move under the tile when they were set. But between. The concrete sucking up moisture and the tile sucking up moisture, the thin set didn’t have enough liquid in it to bond to the tile.
Now, I was not about to scrape out 7 tiles worth of that mess. We decided to mix up some very runny thin set and float it on top. My theory was that that dry thin set is bonded to the concrete. The nrw thin set should bond the tile to the dry stuff, and everything should hold. In addition to that I also put some mud on the bottom of the tile. Everything was spread super thin so the new tiles would have an elevation difference.
Now, I will say that as much as I like this tile, it is not rectified, and the pieces are not all straight, flat, or the same size. out of 16 cases I found one that rocked because it wasn’t flat and two that had a definite bow or arch (left to right). Plus, when replacing tiles that didn’t set, it was like doing a puzzle to get them to fit again. The pieces were longer or shorter as much as 3 milimeters. Not a huge deal if you’re prepared for it. But I guess I wasn’t, so that was frustrating.
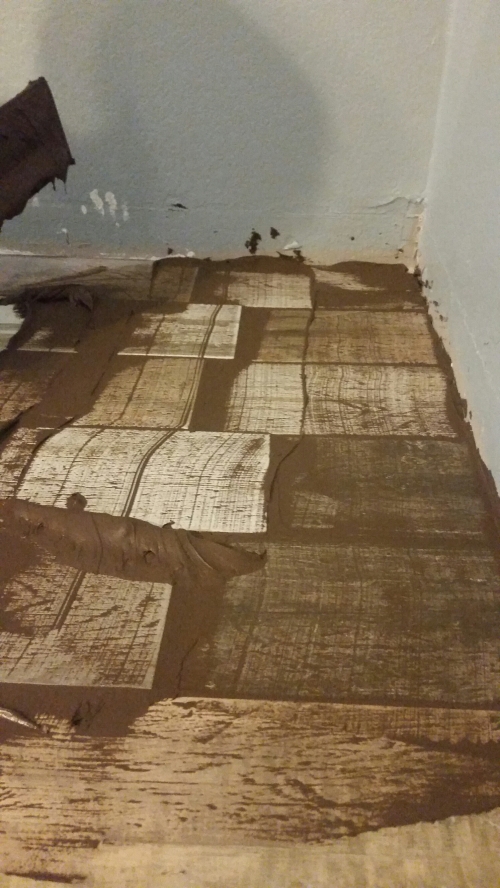
For the grout we went with non-sanded grout (because we used 1/8th” spacers) in Tobacco Brown. My goal was to have the grout lines disappear into the tile to make it look more like wood. I went back and forth between a light color (Sandstone) and a dark color. I finally settled on the dark, and hoped for the best.
The stuff looked like straight chocolate pudding poop.
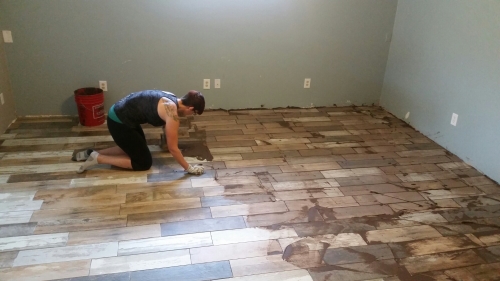
If you didn’t know, groutting sucks. Like really really sucks. But eventually we got the room done. It took several hours.
After floating the grout you have to clean, and clean, and clean, and clean. A word of caution to those in a committed relationship. This step can easily cause divorce or murder. Our knees were smoked, legs hurt, arms were exhausted, and we were ready to be done.
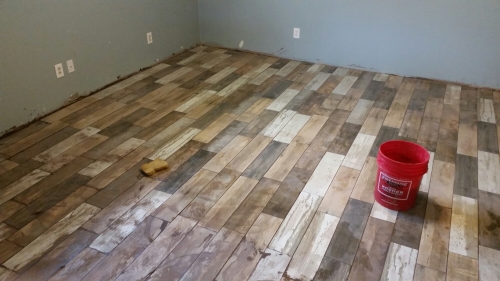
After wiping, cleaning, and mopping we were finally finished. And man was it worth it!
And the best part? The tile matches our Shepherd, Leia!
So there you have it. First time laying tile. Not every tile is perfectly level, one of them had to be shaved down a hair, nearly a dozen needed to be re-set the 2nd day. But we did it. And for a fraction of the cost. My instructor got a couple of cases of Shock Top and a few liters of Southern Comfort as payment, which seems like a deal. I gained the confidence to take on more tile projects in the future and a gorgeous new living room floor.
How was your first time laying tile? Did it work out or did you make mistakes too?

0 Responses to “1st Time Tiling; Lessons Learned.”