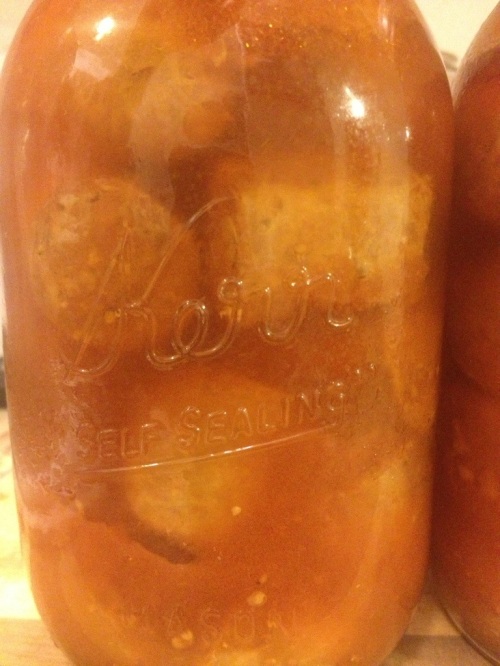
Update: This recipe won a 1st place Blue Ribbon at the 2013 Arizona State Fair in the Canning Meat category.
Italian Sausage in Tomato Juice
I’m trying to delve deeper in to the world of canning. To try more meats. And specifically, to can more things that are closer to ready to eat.
We were at the grocery store looking for pork to smoke (a whole different post) when I saw packages of hot Italian sausages on clearance for half price. In the past I would have frozen them. But I figure, why not put em in a jar?
The National Center For Home Preservation says to brown sausage and then process it in water, stock or tomato juice. My thought process was this: water would be a waste. Why remove all that flavor into water that would likely be drained out anyway. Stock sounded ok. But all I had was previously home canned smoked chicken stock. And that didn’t sound that great. So that left me with tomato juice, which I didn’t have. But what I did have was previously home canned tomatoes.
I figure hot italian sausage is destined to be in pasta sauce at some point in the future. So why not process it in tomatoes now? I grabbed a wide mouth quart of canned tomatoes off the shelf. The immersion blender fits right in the top, and in no time it was a quart of tomato puree. I put that in a pot with a pint of water to make my tomato juice.
I placed the sausages in a pan and browned them on both sides.
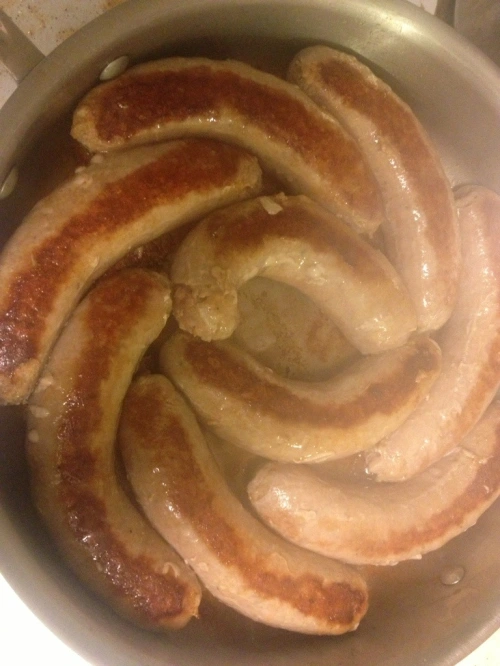
Once they were brown I cut each sausage in to 5 pieces.
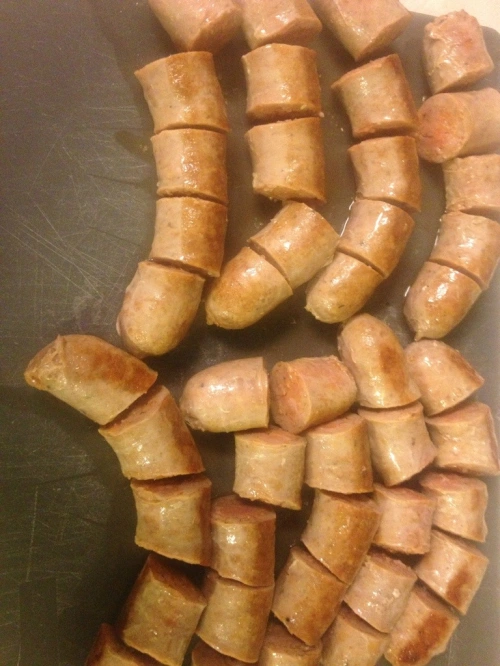
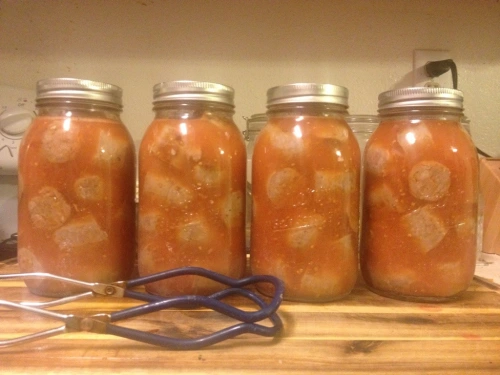
Place the pieces in a quart jar. This took a little bit if engineering. But luckily years of playing Tetris paid off. Just make sure you’re filling voids in the jars where you see them. In total I cooked 6 pounds of sausages that ended up filling 4 quarts.
Heat the tomato juice to a boil and cover the sausage pieces with the juice. Leave a 1″ headspace.
Use a plastic utensil to remove any air pockets or bubbles. Why plastic, you ask? Because metal can cause micro scratches and fissures in the glass. This can be the catalyst for thermal fractures in the future.
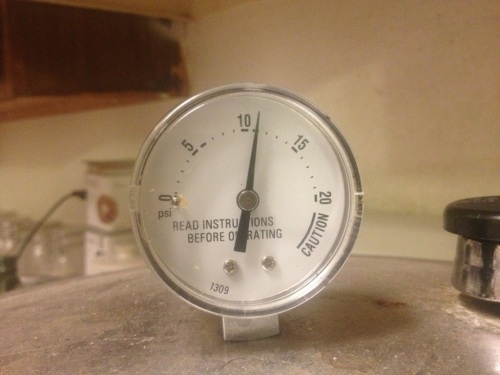
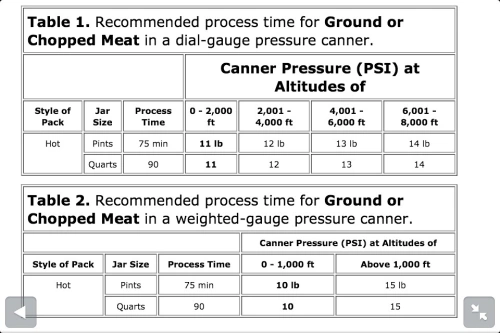
Top with lids and bands and place in a pressure canner at 11lbs for 75 min for pints or 90 min for quarts.
Use this chart to adjust for altitude.
Always turn off the heat and allow the pressure canner to cool by itself when the time is up.
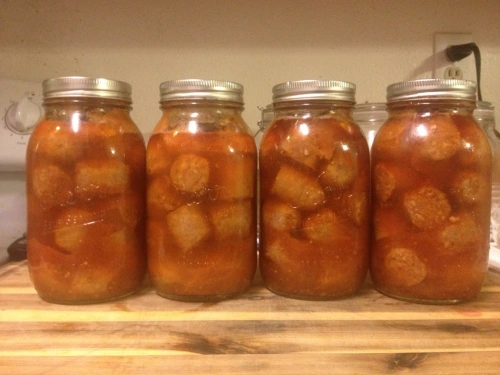
The finished product looks like this. Not too bad. Sometimes canned meat looks like a lab specimen. This looks more like Spaghettios.
I’m huge on making my own pasta sauce right now. Generally it’s 2 quarts of tomatoes, onion, garlic, carrots, zucchini, squash, peppers, wine, balsamic, and spices. In theory a jar of sausages can be added, without taking the time to defrost and brown the sausages, cook them through, and letting them simmer in the sauce. The flavor’s already in there.
Happy canning.
