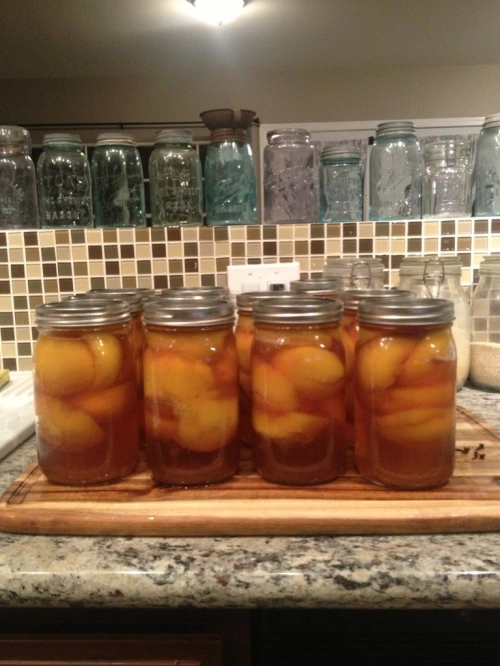
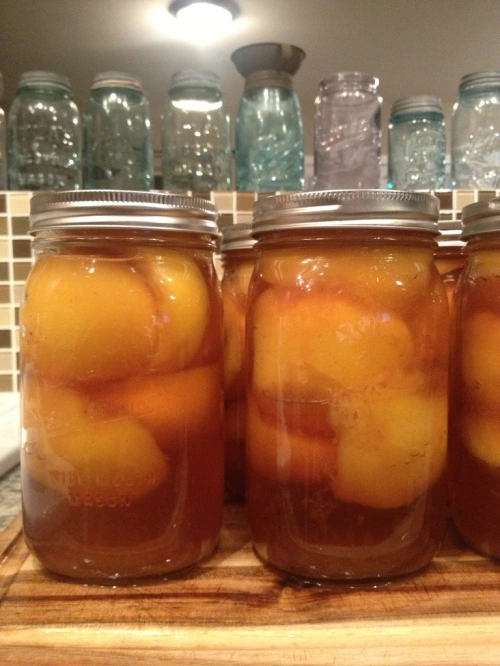
I was offered to go in halfsies on a case of 40lbs of peaches. I didn’t really have time for 20lbs of peaches. But I’m a sucker for a deal. Plus, I was told these were really good peaches. So I agreed.
When they came in I was in the middle of my work week. During my work week all I do is work. So they had to wait. On Saturday my friend told me he fit them in his fridge since they were getting very ripe. I picked them up Saturday night, and put them in my fridge.
Sunday I got up, pulled them out and stared at them. Stared and stared. I broke out my Ball Blue Book, The Joy of Pickling, and Put ‘Em Up. I read recipes and browsed websites. What should I do with the peaches?
I’d seen other’s talking about brandied peaches before. I checked my liquor cabinet and pantry and found that I had everything I needed. And compared to jams, chutneys, barbecue sauces, etc, brandied peaches seemed a bit more quick and easy to get done.
This recipe is adapted from the book Put ‘Em Up.
Brandied Peaches
10lbs of Peaches
5 c Water
2 c Brandy
1 1/4 c Sugar
1/2 c Honey
2 Cinnamon Sticks
8 Cloves
Get a pot of water to a rolling boil. Fill another pot, large bowl, or sink with ice water. I prefer to vigorously scrub out my sink, and then use that. Add some Fruit Fresh or crushed Vitamin C tablets in to the water to prevent browning.
Put a few peaches at a time in the boiling water. The less ripe your peaches are, the longer they need to blanch. My peaches only took a minute. Don’t overfill your pot either. The peaches will cool the water down, and likely you’ll overcook the ones on the bottom.
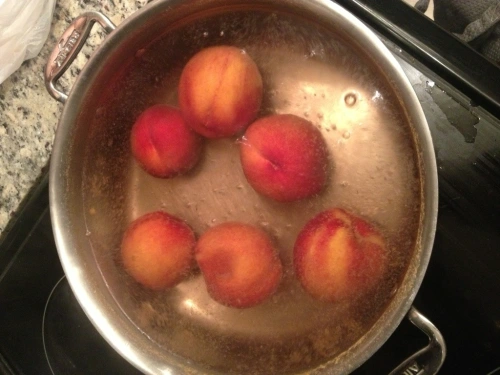
Pull the peaches out with a slotted spoon or a pair of tongues and move them to the ice water. For a small batch like 10lbs, blanch and cool the whole batch. If you’re processing hundreds of pounds (you should have a helper) work in batches.
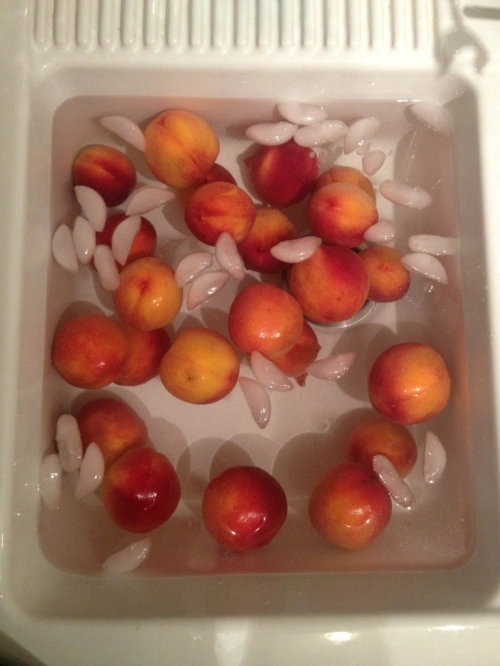
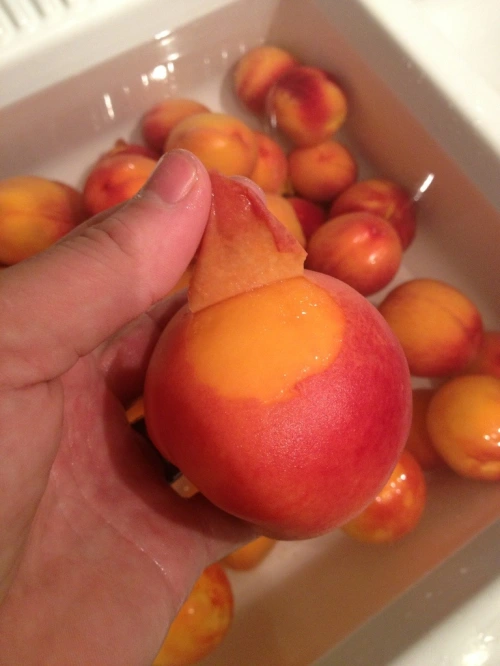
When you pull the peaches out the skins should slough right off. I find that the skins kinda get hung up on the very bottom point of the peach. I use the palm of my hand to rub the peach and break the skin off. Then I peel it off. Toss the peeled peaches back in the water.
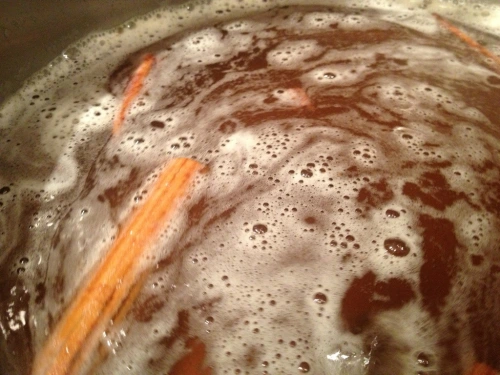
In a non-reactive pot combine 5 cups of water, 2 cups of Brandy, 1 1/4 cup sugar, 1/2 cup honey, cinnamon sticks, and 8 cloves. Heat to dissolve the sugar and honey. I was hoping to burn off some of the alcohol so I boiled it for a minute.
Take out one peach at a time and cut in half lengthwise. Do this carefully. Once peeled, those little buggers are slippery. I used a cheap serrated steak knife that was sharp enough to cut the peaches, but not sharp enough to go through my hand.
Freestone vs Clingstone
Peaches come in two varieties; Freestone and Clingstone. The difference is whether the flesh of the fruit attaches itself to the pit, or not. Before I started canning I never paid much attention or even cared what variety my peaches were. But let me tell you, trying to cut and pit Clingstone peaches is a huge pain in the butt. You have to cut the pit out, or rip it (and the surrounding flesh) out of the fruit. What you are left with are not the perfect peach slices you expect, but a smattering a peach chunks. Generally I find that farmers markets, produce specialty stores, and produce managers know whether peaches are freestone or not. The easiest was to check is to cut the peach in half and try to take the pit out. Don’t be afraid to ask before committing to buying them.
The peaches I got were some of the best freestones I’ve ever had. I twisted several of them open to have the pit fall out with no effort at all. Put the peach halves back in the water.
Start packing your peach halves in clean jars. Not gonna lie. These guys did not pack well. I fit about 6 halves in each quart. If you chose to go with quarters or eighths you might have better luck. But I wanted the halves.
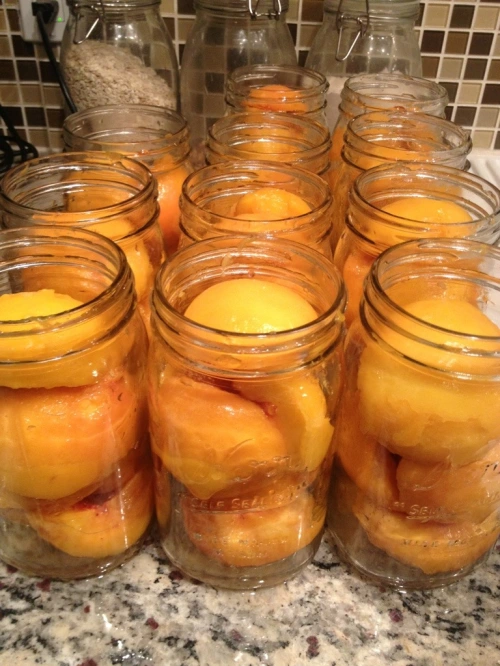
Fill each jar with the brine to 3/4″ headspace. Try to keep the cloves and cinnamon out. Put a lid and ring on each jar and then swirl it around to release the pockets of air between the peaches. Some of my jars went down quite a bit.
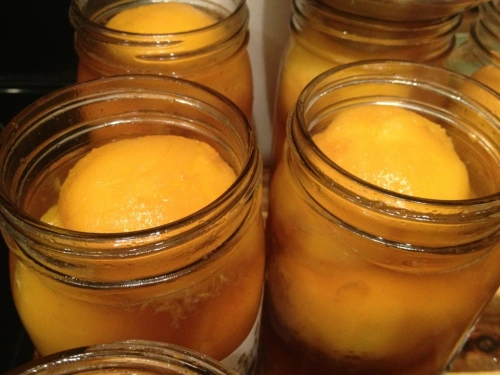
Top off with syrup to bring it back to the proper headspace.
Fireball Whisky Peaches variation
Now, the book had the proportions listed above. And the brine filled 6 quarts. But I had 20lbs and 11 quarts. Imperial to metric conversion messes with me sometimes. You buy a 750ml bottle of brandy, you feel like that’s quite a bit. You don’t realize it’s only 3 cups until you’re halfway through a double batch of brandied peaches and out of brandy. See where I’m going with this?
So for the second half I walked to my liquor cabinet and stared. What could I use? Brandy, Marsala, Rum, Scotch, Amaretto, Fireball Wisky, Vermo….. Wait a minute. Cinnamon Whisky? With peaches? That sounds….really good!! I grabbed the bottle and returned to the kitchen. For a Fireball variation omit one cup of brandy and add 1 cup of Fireball brand Cinnamon Whisky.

Wipe the rims of the jars, put on lids and rings, and water bath process for 30 minutes.
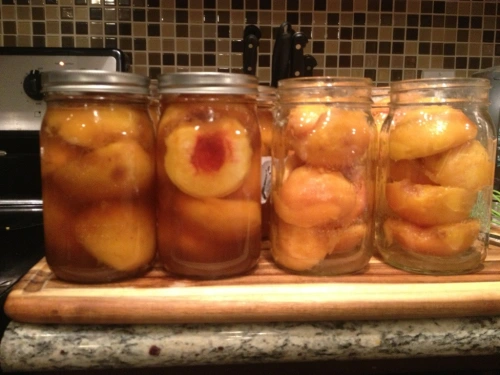
I wasn’t given any clear direction on this. But I’m guessing much like a pickle, these bad boys should sit for 21 days before opening. So that’s what I’m going to do.
I’m excited for them to be done though. I have thoughts of Warm Fireball Peaches on Vanilla Ice Cream, Brandied Peaches with a Pork Roast, or maybe a Peach Cobbler or Crumble made of a combination of the two. I’ll update the page when I break the seal on one.
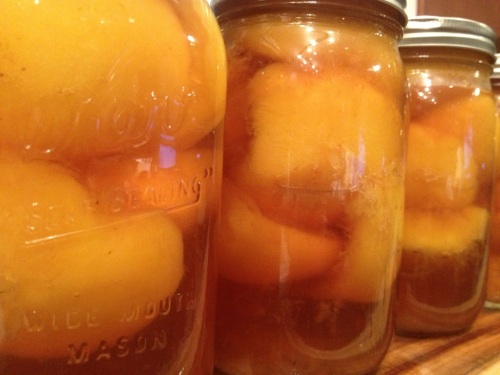
Let me know what your favorite canned peach variation is.
Happy Canning.
